Decorating a Christmas tree can be a joyful experience that brings loved ones together and spreads holiday cheer.
However, with so many ornaments, lights, and ribbons available, finding the perfect mix to achieve a professional look might seem a little overwhelming.
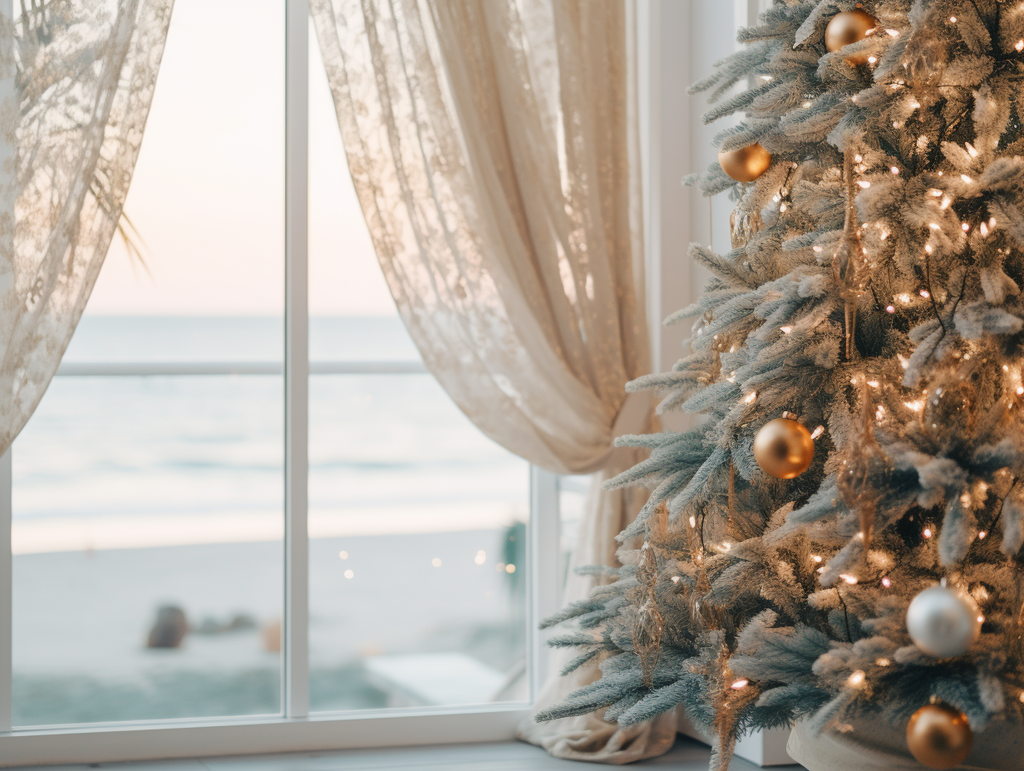
This article is here to guide you step by step through the process of transforming your Christmas tree into a stunning masterpiece.
From choosing the perfect tree and setting it up to selecting decorations and applying professional techniques, you'll soon become an expert tree decorator.
Key Takeaways
- Learn how to select and set up the perfect tree for your home
- Discover professional techniques to choose and arrange decorations
- Understand how to maintain and care for your Christmas tree to keep it looking fresh

Choosing the Right Tree
Real vs. Fake Trees
When it comes to Christmas trees, the first decision you'll face is whether to go for a real or a fake tree.
Real trees bring that nostalgic scent of pine into your home, making it feel like a true holiday wonderland. However, they do require a bit more maintenance, like watering and needle cleanup.
On the other hand, fake trees are a low-maintenance option and can be used year after year, but they might not give you the same natural charm as a real tree.
Whichever option you choose, ensure that the tree fits your vision and the overall decor plan for your space.

Choosing the Right Size
Now that you've settled on real or fake, it's time to pick the perfect size. Consider the area where the tree will be placed, taking note of the ceiling height and available floor space.
As a rule of thumb, you'll want to have around 6 to 12 inches of space between the top of your tree and the ceiling.
Here are some recommendations for ceiling heights and their corresponding tree sizes:
|
Ceiling Height |
Tree Height |
|
8 feet |
6 - 7 feet |
|
9 feet |
7 - 8 feet |
|
10 feet |
8 - 9 feet |
|
11 feet |
9 - 10 feet |
Remember, if you're opting for a real tree, it'll need a sturdy stand that provides enough room for water and enough space to avoid any potential fire hazards.
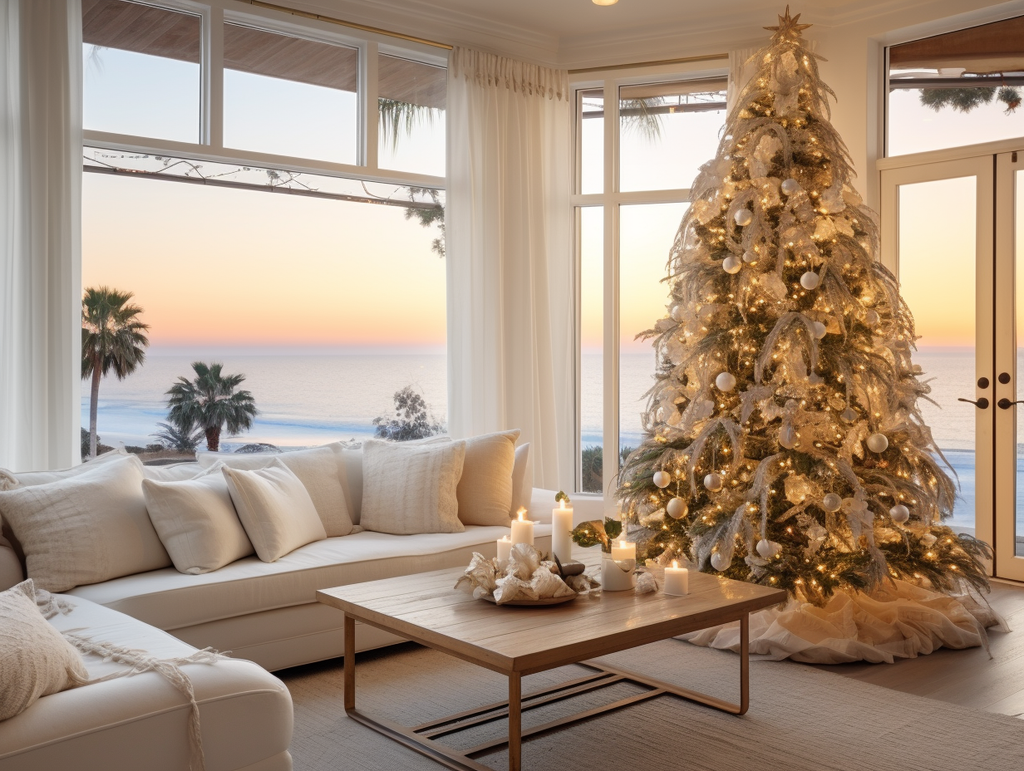
The right-sized tree makes it so much easier to decorate like a true professional, creating a magical and memorable holiday centerpiece for you and your family to enjoy.
Setting up Your Tree
Positioning the Tree
First things first, pick the perfect spot for your Christmas tree. Make sure it's in a location with ample space and minimal foot traffic. You'll also want to have convenient access to a power outlet.
Once you find an ideal spot away from heaters and vents, start setting up the tree stand.
Securing the Tree
Now, place your lovely tree into the stand, making sure it's secure and upright. Take a step back and double-check it's straight before tightening any screws or bolts.
Safety first - remember your tree will be adorned with precious glass ornaments!
Adding Lights
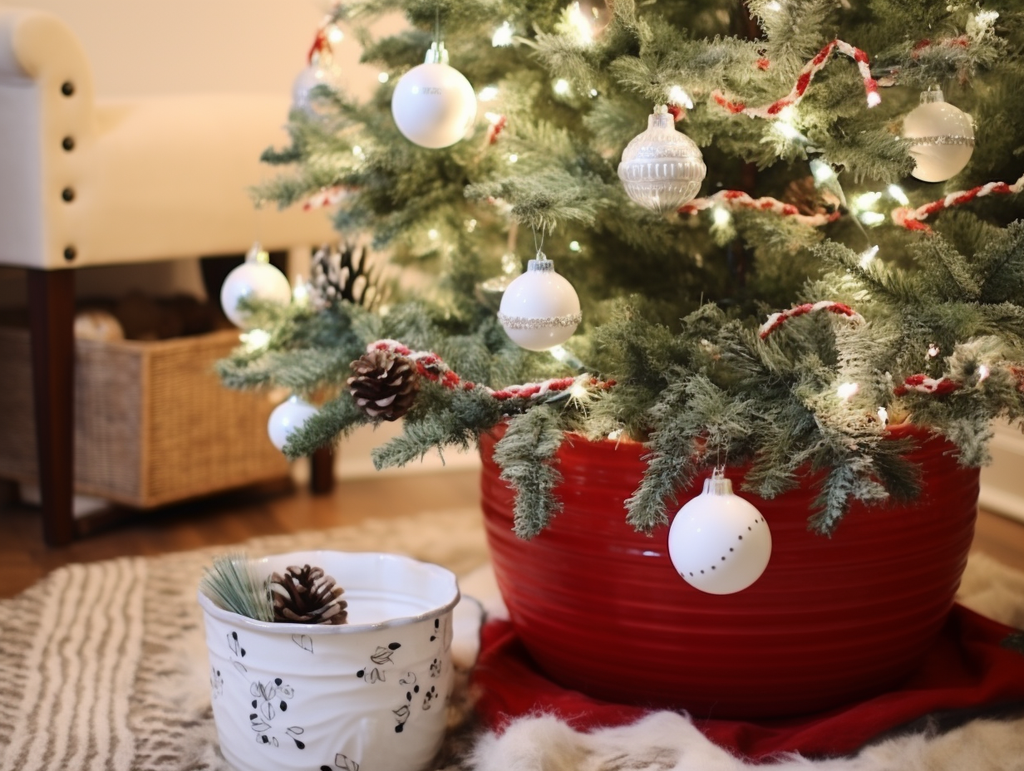
Onto the magical part - lights! To achieve pro-level illumination, start at the base and work your way up.
Wrap the lights around branches while moving upwards, ensuring they're evenly spaced. Use warm white, soft white, or multicolored lights, depending on your preference.
Don't skimp on the lights; a well-lit tree truly captures the Christmas spirit.
Choosing Your Decorations
Color Scheme
Picking a color scheme is crucial in achieving that professional look. Evoke your inner creativity and select a palette that complements your home's interior.
It's common to stick with two to three main colors, but don't be afraid to explore various shades or metallics for a touch of elegance.
Remember to consider the tree's color as it forms the base for your decorations. A green tree works well with classic reds, golds, and silvers.
If you have a white tree, opt for bold and vibrant hues.

Ornament Selection
It's essential to have a variety of ornaments in terms of size, shape, and texture. This adds interest and depth to your tree and makes it more visually appealing.
Start with basic ornaments and gradually incorporate more unique pieces that reflect your personality or hold sentimental value.
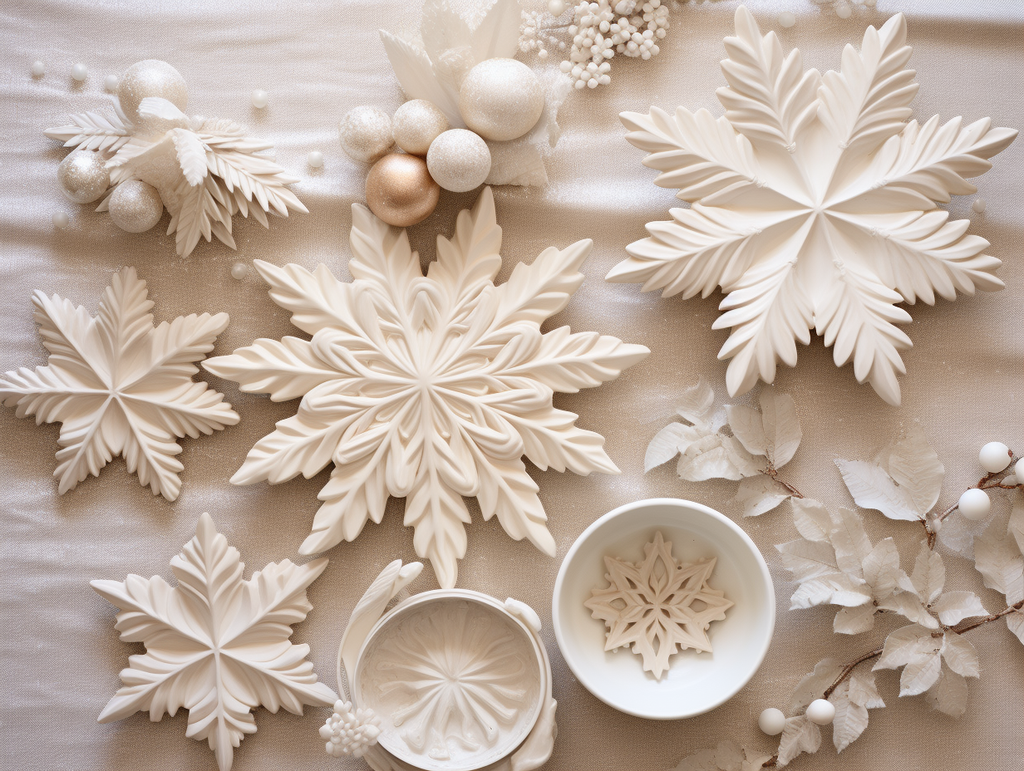
- Basic ornaments: stars, balls, and snowflakes
- Unique ornaments: family heirlooms, handcrafted pieces, and themed collectibles
To create a cohesive and aesthetically pleasing look, scatter each type of ornament evenly and methodically around the tree.
Adding Finishing Touches
Now that your tree is adorned with dazzling decorations, it's time for some finishing touches. String lights are a must; choose from classic warm-white or multi-colored bulbs to elevate the festive atmosphere.
Don't forget to experiment with various light modes.
Next, add festive garlands and ribbons, but don't overdo it; less is often more.
Lastly, crown your tree with a striking tree-topper, like a shining star or a beautiful angel. With these additions in place, you'll have a stunning tree that looks like a work of art, just like the professionals.
Professional Decorating Techniques
Layering Ornaments
When decorating like a pro, start by layering ornaments on your Christmas tree. First, hang the largest ornaments, spacing them evenly apart.
This creates a visually balanced foundation. Next, add medium-sized ornaments, filling in gaps and clustering them together for a stunning effect.
Finally, incorporate smaller ornaments into your tree, focusing on the areas closest to the tips of the branches. These will add depth and dimension to your tree.
Get creative with a mix of shapes and colors and heirloom ornaments to personalize your tree.
Using Ribbon
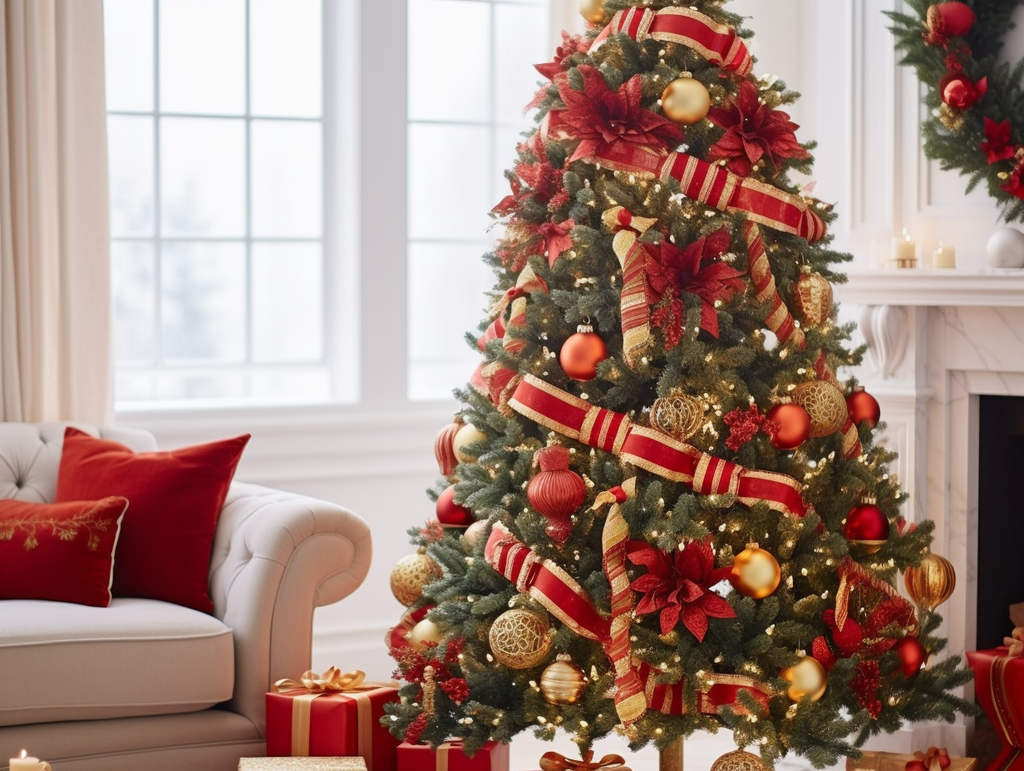
Another professional tip is to use ribbon to add elegance and style. Begin by selecting a ribbon that complements your tree's theme.
Cut the ribbon into long strips, about 2 feet each, and secure the ends with a pipe cleaner or twist tie.
Start at the top of your Christmas tree and gently twist the ribbon around the tree, cascading down in a spiral pattern. Make sure to tuck the ribbon between the branches to create visual texture.
Experiment with a couple of ribbon types, such as mesh, silk, or even burlap, for a rustic touch. Your tree will look like it's been designed by a professional!

Maintaining Your Christmas Tree
Watering Your Tree
Keeping your tree hydrated is essential for a fresh and lively look. Fill the tree stand with lukewarm water daily, ensuring you do not miss a day.
A well-watered tree not only looks great but also stays fresh for longer. So, don't forget to check the water level in the stand regularly.
Safety Measures
Christmas trees may look innocent, but they can pose potential hazards. Keep your tree away from heat sources like fireplaces, candles, or heaters.
Make sure to secure your tree properly in the stand. A fallen tree can cause damage or injuries.
Use UL‐approved lights and electrical decorations on your tree. Replace any worn-out strands, and never connect more than three light strands together.
Lastly, unplug the lights when you're not around. This precaution helps avoid any chances of electrical accidents.
Happy tree decorating! Enjoy the process and have a wonderful and safe holiday season with your beautifully decorated Christmas tree.

Frequently Asked Questions
What is the proper order for decorating a Christmas tree?
Start by fluffing the branches and filling in gaps. Then, install any necessary lights or pre-lit strands. Next, incorporate garlands to create visual flow.
Finally, add ornaments and other decorations from the top down, making sure to place them in an even and balanced manner.
How do you put lights on a tree professionally?
First, unwind and test your lights before adding them to the tree. Begin at the base, wrapping each strand around the tree going up each branch before returning to the trunk.
This ensures every part of the tree is lit evenly and eliminates dark spots.
What are some elegant tree decorating ideas?
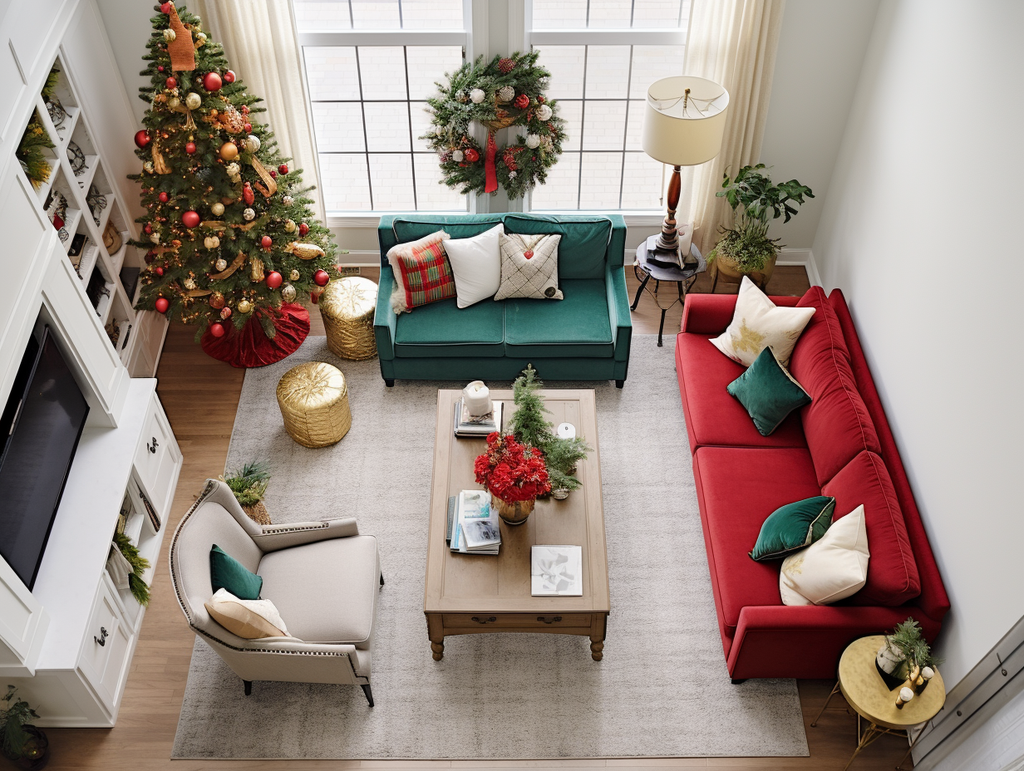
To create an elegant tree, choose a cohesive color scheme and utilize high-quality decorations. Consider incorporating materials like glass, crystal, or metallic finishes.
Subtle lighting creates a warm, gentle ambiance and nicely complements simple ribbon details or a sophisticated tree topper.
How to arrange ornaments on a Christmas tree?
When arranging ornaments, start with the largest ones, evenly distributing them across the tree. Next, add medium-sized ornaments to fill any gaps.
Finally, incorporate smaller decorations, ensuring they're visible and positioned well amongst other ornaments. Don't forget to display any sentimental or meaningful pieces front and center!
How to decorate a slim tree professionally?
Opt for smaller decorations to maintain proportion. Consider using vertical ribbons or garlands to enhance the tree's height visually.
Lighter ornaments at the top and heavier ones on the bottom maintain balance. Selecting a simple yet striking tree topper adds the perfect finishing touch.
How to incorporate ribbons in tree decor professionally?
Try different ribbon styles such as cascading, looped, or tucked. Cascade ribbon from the top, creating a natural flow. Loop the ribbon in and out of branches for added dimension.
Tuck the end of the ribbon into the tree for a more organic appearance. Choosing the right ribbon type is important – wired ribbon is easier to manipulate and helps maintain your desired look.
Affiliate disclosure: We only endorse things we’ve personally curated and have bought or would buy ourselves. If you make a purchase using our referral links, we may receive a commission. However, there’s no extra cost to you.
